User Tools
Sidebar
Navigation
software:modules-and-examples:password-protection-demo
Table of Contents
Password Lock/Protection Module
Customers often ask for a way to password protect their system for many different reasons. It may be that you want some security in case you lose your phone, or that you simply want to lockout access to certain areas of your interface.
We have developed a module and demo project to help achieve this in your GUI.
Password Lock Module
We are going to have a quick look at how to implement some basic password protection to your GUI. This is done using our new password lock JavaScript module.
This module adds a simple password validation to block entry to a page.
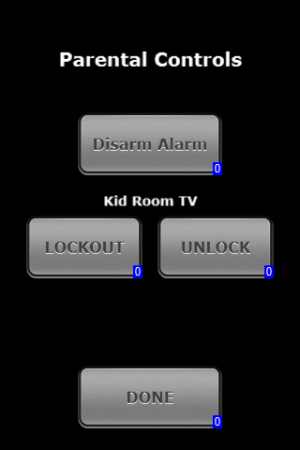
You could use this to block access to any part of a GUI you design in guiDesigner. It might be to block access to CCTV feeds or alarm system controls. In our demonstration, we are using this functionality to lockout access to parental controls.
Download
Step 1 - Set the Serial Join
Open up the PassLock.js file and edit the (2) serial join so it is the same as the (3)serial join of the (1)text object of where the entered code will be shown (Where the asterisks show up in the video). By default it is set to s1.

Step 2 - Add Script
Add the PassLock.js script to your project via the Script Manager.
Step 3 - Global Tokens
Open the Global Token Manager by right clicking on your gui file in the project tree and selecting Global Token Manager

Edit the two available global tokens:
- Password: The is the password that must be entered correctly to activate the page flip
- PassSuccessPage: This is the page that the GUI will flip to when the password is entered correctly
Step 4 - Configure Buttons
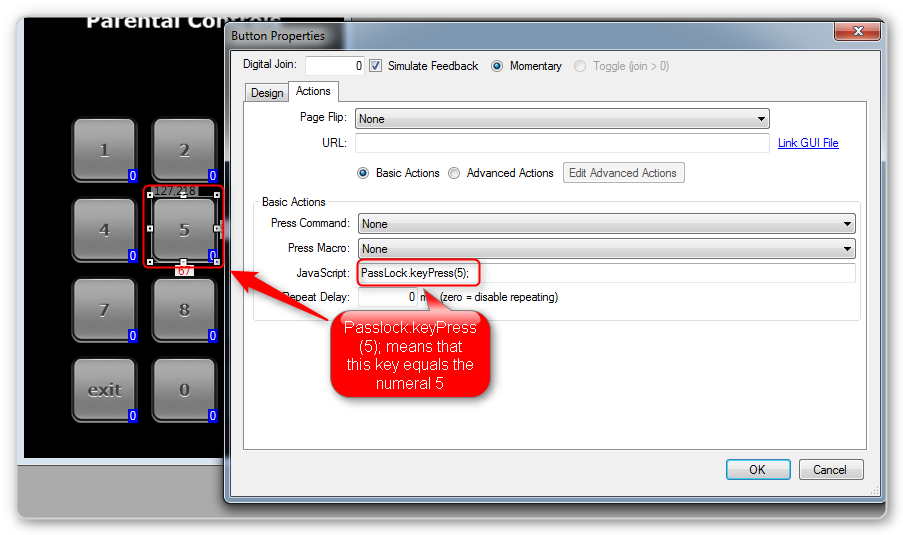
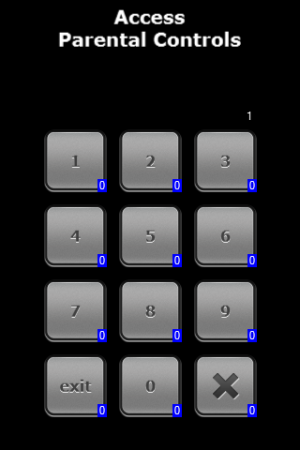
In our demo project the buttons are already there and are configured for you. If you want to make your own keypad - you will need to tell the module which button is which. This is done by entering a JavaScript action in the button properties.

So if the button has a JavaScript action of PassLock.keyPress(5); then that means that this button is the number 5. You will need to do this for all the number 0-9.
The only other call that you have the configure is PassLock.clear();. This clears any numbers already entered.
GitHub For the most up to date version of this module, you can visit our Demo User Interfaces repo on GitHub.
Another Approach
Note: You must enter your registration code into the GUI when open in guiDesigner otherwise page flips will not work.
How It Works
There is 5 identical pages, each with a numeric keypad. You simply setup the correct PIN sequence to eventually page flip to the last page, where the OK button then page flips to the welcome page.
So for this demo, we used a PIN of 1234 OK:
- Login page 1, numeric key 1 page flips to Login page 2
- Login page 2, numeric key 2 page flips to Login page 3
- Login page 3, numeric key 3 page flips to Login page 4
- Login page 4, numeric key 4 page flips to Login page OK
- Login page OK, numeric key OK page flips to welcome page.
All other numeric keys page flip back to login page 1.
This way the user must enter the sequence 1234OK before being let into the welcome page.
Alternatives
Other than the above method of logging in, which requires a static PIN, you could also use an Input Field to force the user to enter a password, which is then sent back to the system.
The system must then respond with a certain message, which could be parsed using feedback parsing and finally do a page flip if the correct reply comes in.
This method obviously requires the system can handle such a message and reply scheme.
software/modules-and-examples/password-protection-demo.txt · Last modified: 2013/08/07 03:45 by jarrod


